if you’ve been following us at Purple Eggplant you may know that my little C had recently been upgraded to a big girl bed. we converted her crib into the toddler bed version and she was sleeping pretty. until i noticed a random limb sticking out. until she began to roll out onto the floor in the middle of the night. until she brought about 20 (i am not exagerating) lovies to bed. until i realized my 2 & 3/4 kiddo is wearing size 5 clothing and may just be too darn big for this toddler bed.
so the hunt was on for a twin bed. and i fell in love with one. fell hard, and so did my C. “i cant wait to open my pretty pink bed. maybe it will come with jellybeans and lollipops” !
and as i was about to order, one on my Purple Eggplant friends said “oh no Jay i think you are on the US site!”… well i didn’t panic…no it couldn’t be…i had ordered from this site before. but there it was. up in the top right corner. the US flag. determined that i was to get my C her pink tufted bed, i continued my search and simply could not find this (albeit overpriced) beauty of a bed in Canada.
this experience led me to this post i share with you today and how i went about making my own headboard for way cheaper.
i just could not find something i loved at any stores locally. then recently i was at homesense and came across this wicked fabric Colin & Justin table cloth. trying to think of a reason to buy it, it hit me ! this could be the fabric for a DIY headboard – and for only $14.99 !

onto our local classifieds site i went and found a twin headboard for $20. by the end of the day i was a proud owner of a headboard, fabric, batting, and a DIY project that would give me a break from this paper i am trying to write !
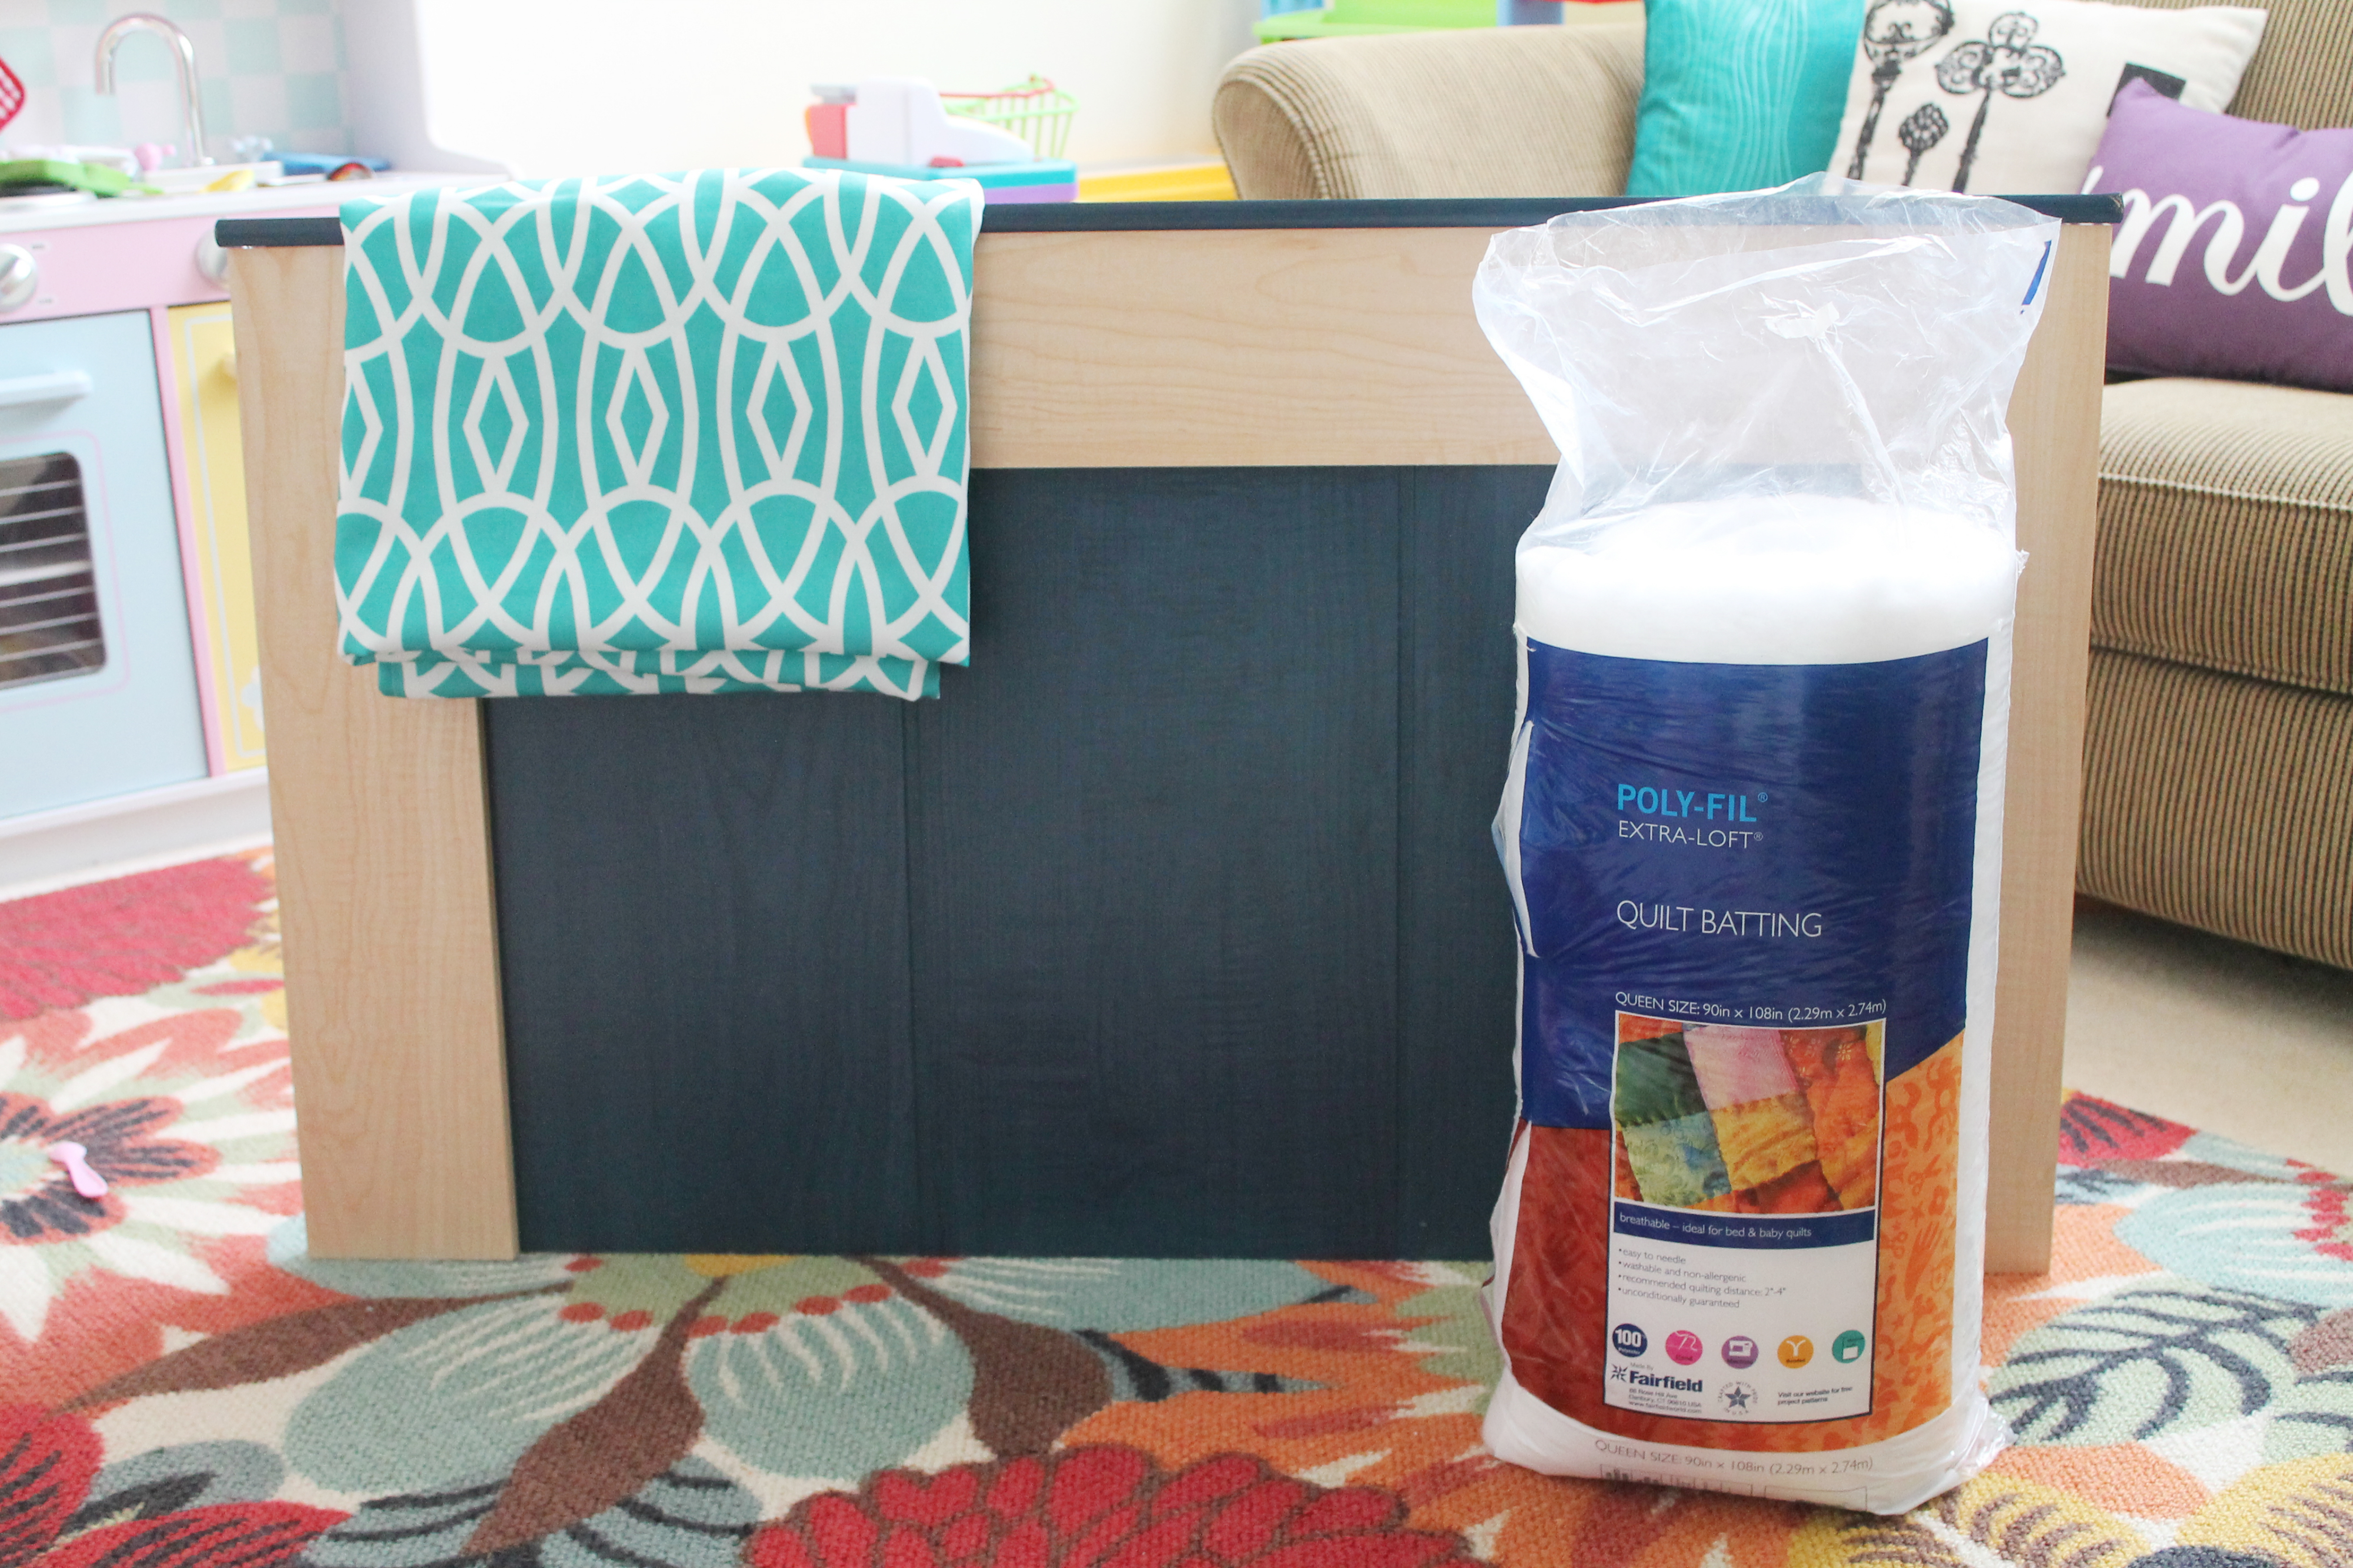
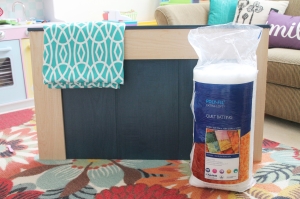
your 4 supplies:
- staple gun
- batting
- fabric (if you can score a table cloth you will save tons and theres the added benefit of being able to wipe it off fairly easily for all the kiddo reasons you might need to)
- headboard (or you could measure 41″x24″ plywood and it would do the trick)
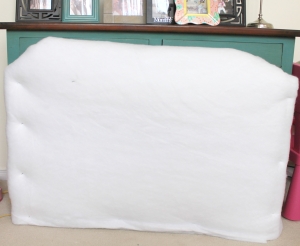
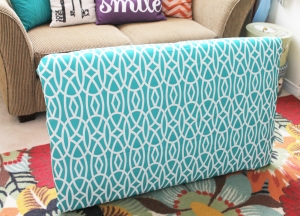
to start, place your batting on top of the wood. i used the entire package because i wanted it to becozy. you can then staple it right into the wood on top, or wrap it right around the wood to give it a cushy look.
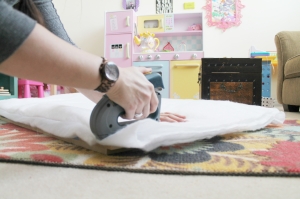
once the batting is stapled into place, you are then ready for fabric. i opted not to staple the top portion of the batting to the headboard because after doing one, i notice the top line of the headboard became a bit wavy and not smooth (you could probably make a wicked cool wavy headboard by using the staple gun creatively but i was going for a straight line)
you will then want to lay your fabric on top of the batting and space it out so that you have enough extending past the front to be able to staple far enough at the back. (i am a notorious eye baller and this works for me but you may want to measure!) if your bed is not against the wall, you will want enough to cover the entire backside as well.
once you are happy with the alignment, give the fabric one good staple at the top middle. i found working with a pattern to be a bit finicky but not terribly difficult. i got it to the best spot i could and held my breath as i stapled and hoped it worked.

once the first ones in, its smooth stapling from here. the only spot you will want to give good attention to is the corners. you will want to fold it under and then staple the fold down with another piece wrapping it in for a clean corner look.

you then really just continue stapling until all the fabric is pulled taught and in place. i even scored extra fabric to use to make some pillows!

the who project took me less than 20 minutes and cost $45.00.


 Andie found this super inspiring tutorial from